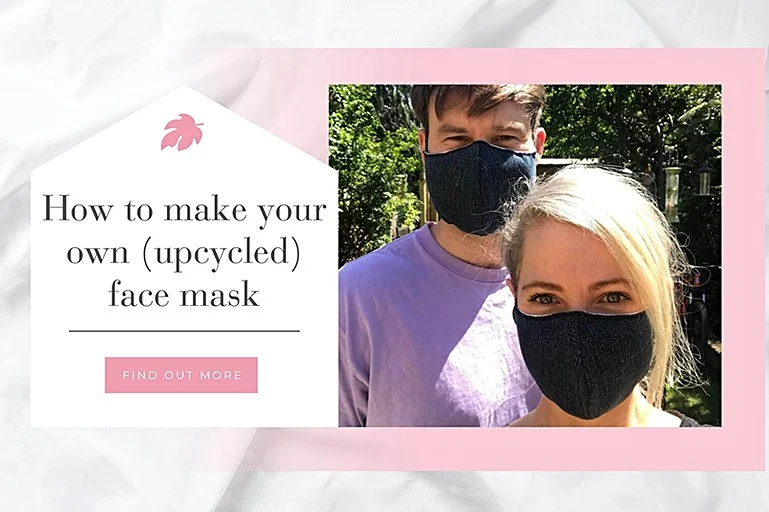
How to make your own (upcycled) face mask
Posted by Claire Boote, on June 8, 2020.
Estimated reading time: 1 minute(s)
Posted by Claire Boote, on June 8, 2020.
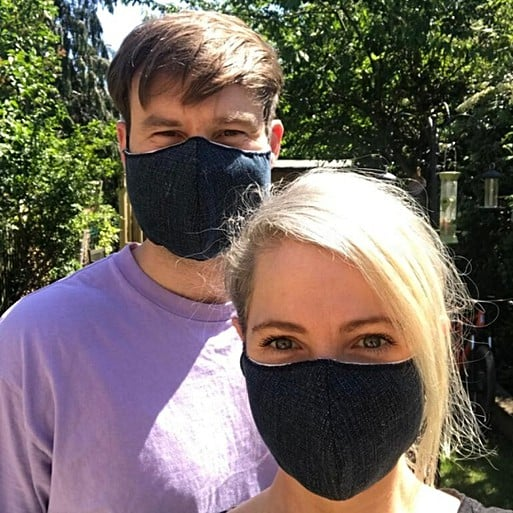
During this challenging time, face masks are becoming a common sight on our streets. Their effectiveness at reducing the spread of COVID-19 is of hot debate around the world, but there is scientific consensus that wearing a face mask can help reduce the transmission of vapour droplets that contain the virus, and therefore help stop the spread. Below is a method for making a simple face covering. We have created this for people who have a basic knowledge of using a sewing machine.
With government guidelines recommending the use of face masks in situations such as public transport and small enclosed spaces, it looks like many of us will be needing a supply to see us through. Medical-grade masks are best saved for those on the frontline, and disposable versions contain plastic contributing to landfill and ocean pollution. Therefore, we’ve created a guide to making your very own version using suitable fabric from old clothes and even worn-out bras!
This ‘how to’ guide will show you how to make an effective, reusable face mask. An effective mask needs to be:

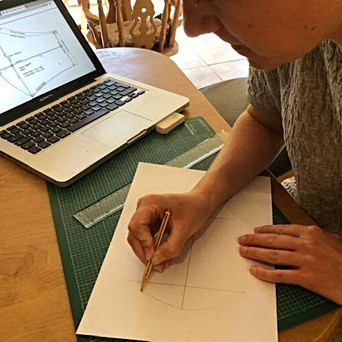
1. Download and print the pattern. If you don’t have a printer, there are two options (a and b below)
a) Trace the pattern from your computer screen by zooming to the correct scale (so that horizontal line measures 148mm)
b) Draw out your own pattern by starting with axes. Follow measurements from the pdf pattern. You will need to get creative and draw in the curves between the straight axes. Use a pencil so you can amend the curves if necessary.
2. Cut out your paper pattern.
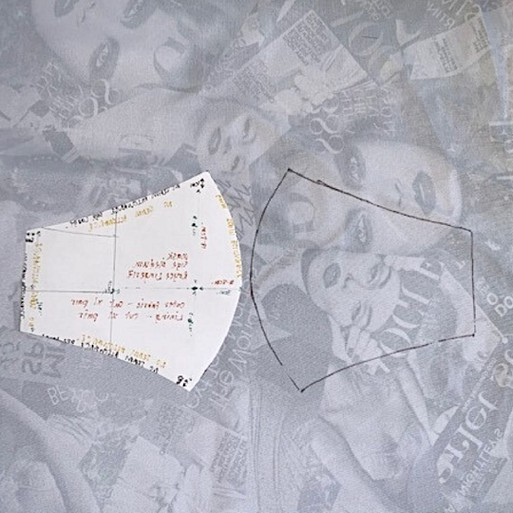
3. Trace the pattern onto rigid outer fabric, ensure to flip the pattern to get both sides of the mask.
If your rigid fabric has a slight stretch, ensure the stretch of the fabric lines up with the horizontal line on the pattern (selvedge).
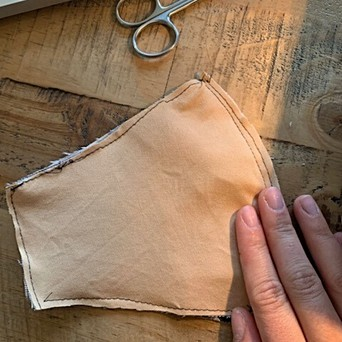
4. Cut both templates out of the rigid outer fabric, cut along the traced line. Keep the fabric flat when cutting out.

5. Trace the pattern onto lining fabric, ensure to flip the pattern to get both sides of the mask.

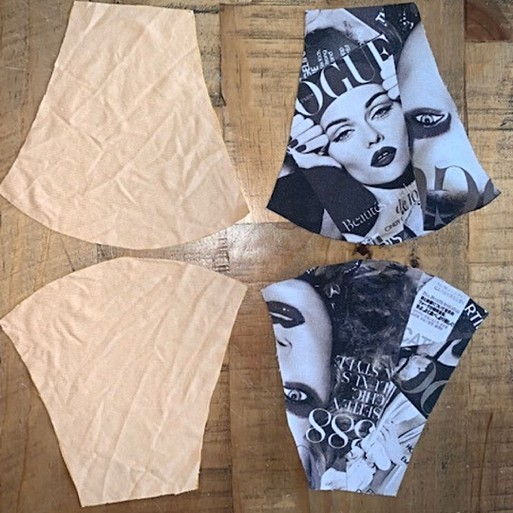
6. Cut both templates out of the lining fabric, cut along the traced line. Ensure the stretch of the fabric goes across the mask. Keep fabric flat when cutting.
7. Using a pencil or pen that will show up on your fabric, mark off your 6mm seam allowance as a guide when sewing. Mark off on both the outer and lining fabric.

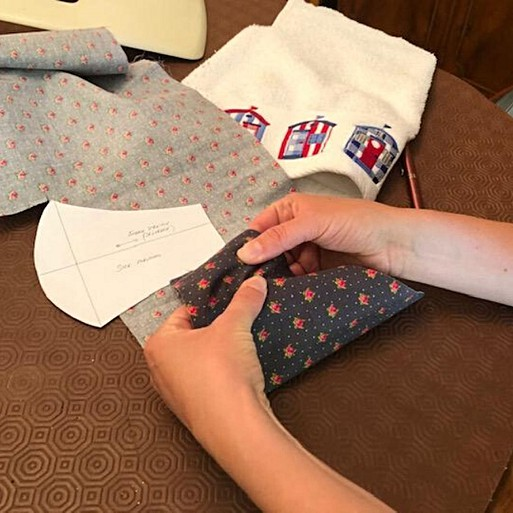
8. Place outer fabric with right side facing downwards, and lay lining on top.
1. Using a sewing machine, use a straight stitch and baste stitch closely along all edges to keep outer and lining fabric together.
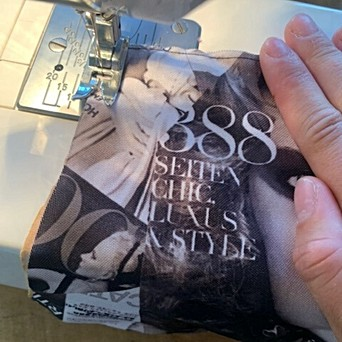
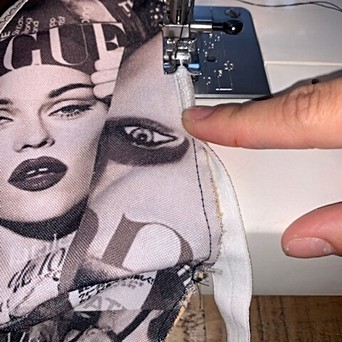
2. Lay the two mask panels on top of each other with the right side of the fabric facing each other. Using your 6mm seam allowance, stitch together the two panels of the mask at the curved edge where your nose and mouth would be.
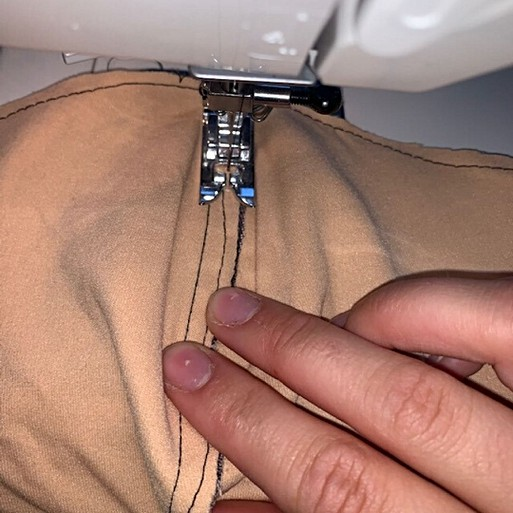
3. On the inside (lining side) of the mask, fold over the 6mm seam allowance on to one side of the mask and stitch down the seam so it sits flat and is comfortable over the nose when wearing.
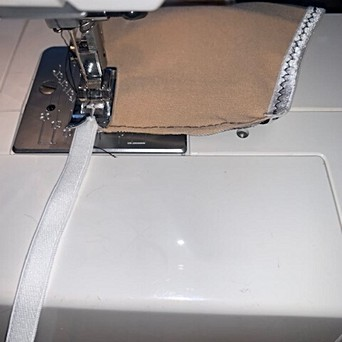
4. Stitch binding, elastic or fold over elastic onto the top and bottom of the mask to create neat edges. Pull the elastic or binding to add tension and create a firm fitting mask. (Any stitch can be used to apply the edging, I used a zig zag stitch as an example.) Leave a ‘tail’ of 130mm at each top end if you are making a mask with loops to go around ears. Cut ends of lower elastic level with side of mask.
You can either create elasticated loops to go around your ears, or you can attach longer ties such as shoe laces, which you can fasten at the back of your head. Below are instructions for both.

If you had enough elastic along the top edge of your mask to leave a ‘tail’, you simple need to sew this to the bottom edge of the mask to create loops.
If you didn’t have enough elastic to leave ‘tails’ along the top edge of the mask, you can simply attach these by using any material such as elastic, hairbands, or even straps from an old bra!
1. Cut two pieces of elastic to 130mm long (for medium) and 140mm (for large). To ensure a firm fit you can adjust the measurements, but start off with more if you’re unsure.
2. Stitch the elastic on to the top corner edge of the mask.
3. Loop round to the bottom corner edge of the mask to create the ear loop. Try the mask on and adjust if necessary. You could attach the bottom edge with a safety pin to check the fit first. The top and bottom edges of the mask should be snug against your face and under your chin.
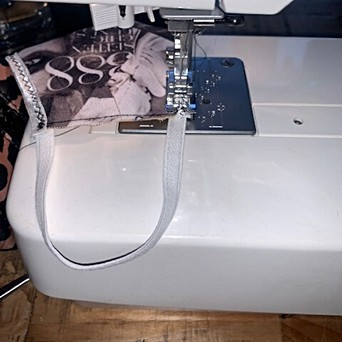
10. Repeat on the other side.
11. Trim away any loose threads…
If you’re using something like shoe laces to make ties, cut four pieces to 380mm each and sew these onto each corner of the mask.
You will tie the upper laces behind your head, above your ears and the lower ones under your ears.
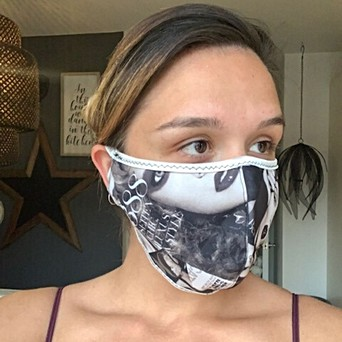
…and there you have your homemade mask. Stay safe!

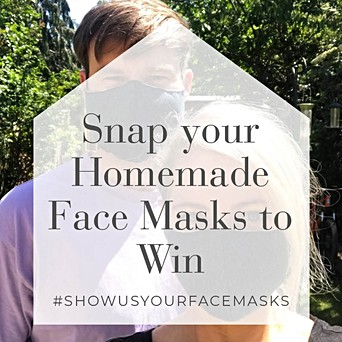
Share photos of your handmade face masks, tag Royce Lingerie and use the hashtag #ShowUsYourFaceMasks by noon on Friday each week. Share on Instagram (@RoyceLingerie) and Facebook (@RoyceBras).
One person will be picked at random to win £100 to spend on the Royce website.